
If sourdough has ever felt intimidating, this simple recipe will help you break it down into manageable, doable steps.
Ingredients You’ll Need
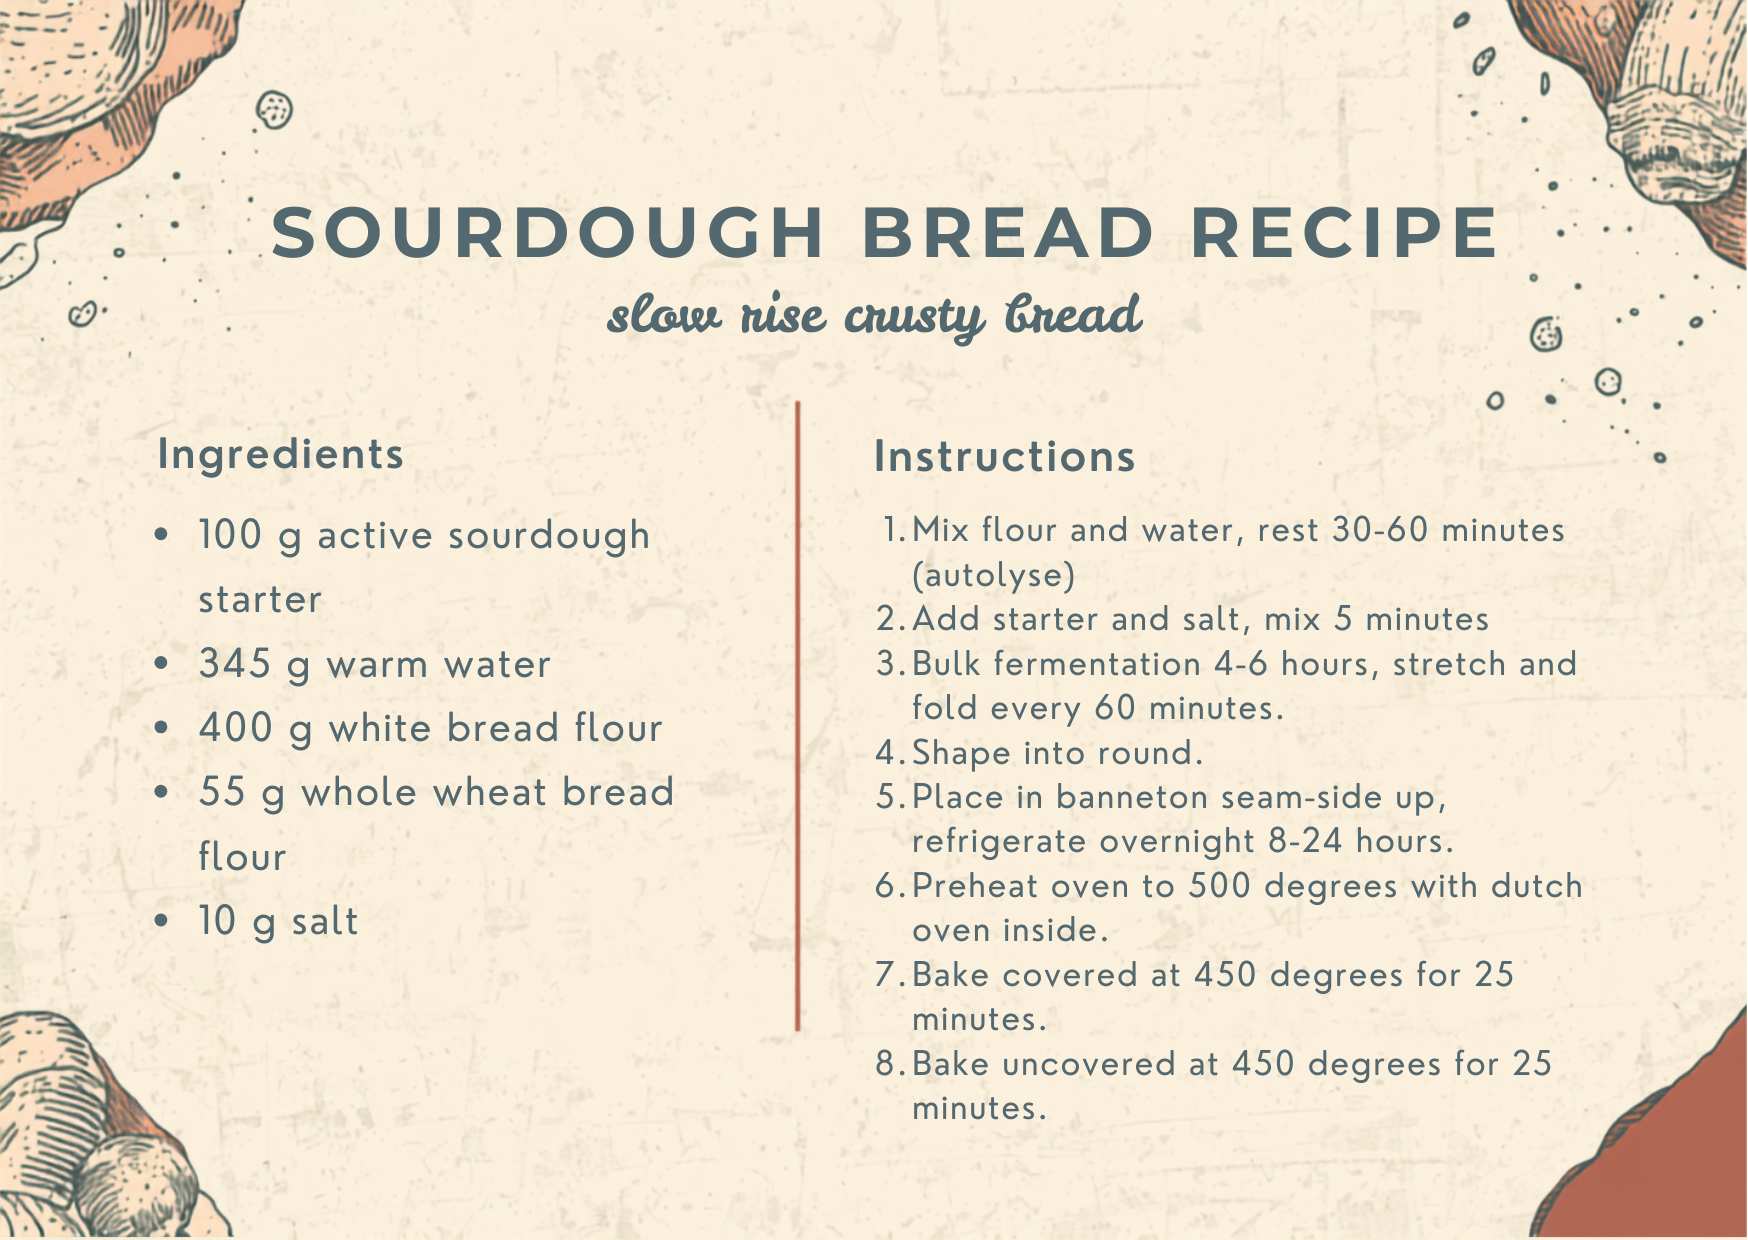
- 100 g active sourdough starter
- 345 g warm water
- 400 g white bread flour
- 55 g whole wheat bread flour
- 10 g salt
Make sure your starter is active and bubbly before you begin. This is what helps your bread rise beautifully.
Step 1: Mix Your Dough
In a large bowl, combine your sourdough starter and warm water. Stir until mostly dissolved.
Add in both flours and mix until a shaggy dough forms. Let it sit for about 30 minutes (this is called the autolyse stage—it helps develop gluten and improves texture).
After 30 minutes, add the salt and mix it in well. The dough will feel sticky—that’s normal.
Step 2: Stretch and Folds
Instead of kneading, sourdough uses a gentler method called stretch and folds.
Over the next 2 hours:
- Every 30 minutes, stretch one side of the dough up and fold it over itself
- Rotate the bowl and repeat 3–4 times
This builds strength in your dough without overworking it.
You’ll notice it becoming smoother and more elastic with each round.
Step 3: Bulk Fermentation
Cover your bowl and let the dough rise at room temperature for about 4–6 hours.
The dough is ready when:
- It has visibly risen
- It looks airy and slightly puffy
- Small bubbles are forming
This step depends on your kitchen temperature, so don’t rush it—watch the dough more than the clock.

Step 4: Shape the Dough
Lightly flour your surface and gently turn out the dough.
Shape it by folding the edges into the center, then flipping it over and tightening it into a round loaf.
Let it rest for 20–30 minutes.
Then do a final shaping to build tension (this helps your bread rise nicely in the oven).
Step 5: Cold Proof Overnight
Place your dough into a floured bowl or banneton (seam side up), cover it, and refrigerate overnight (8–12 hours).
This slow fermentation develops that classic sourdough flavor and makes the dough easier to handle.
Step 6: Bake Your Bread
Preheat your oven to 500°F with a Dutch oven inside.
When ready:
- Turn your dough onto parchment paper
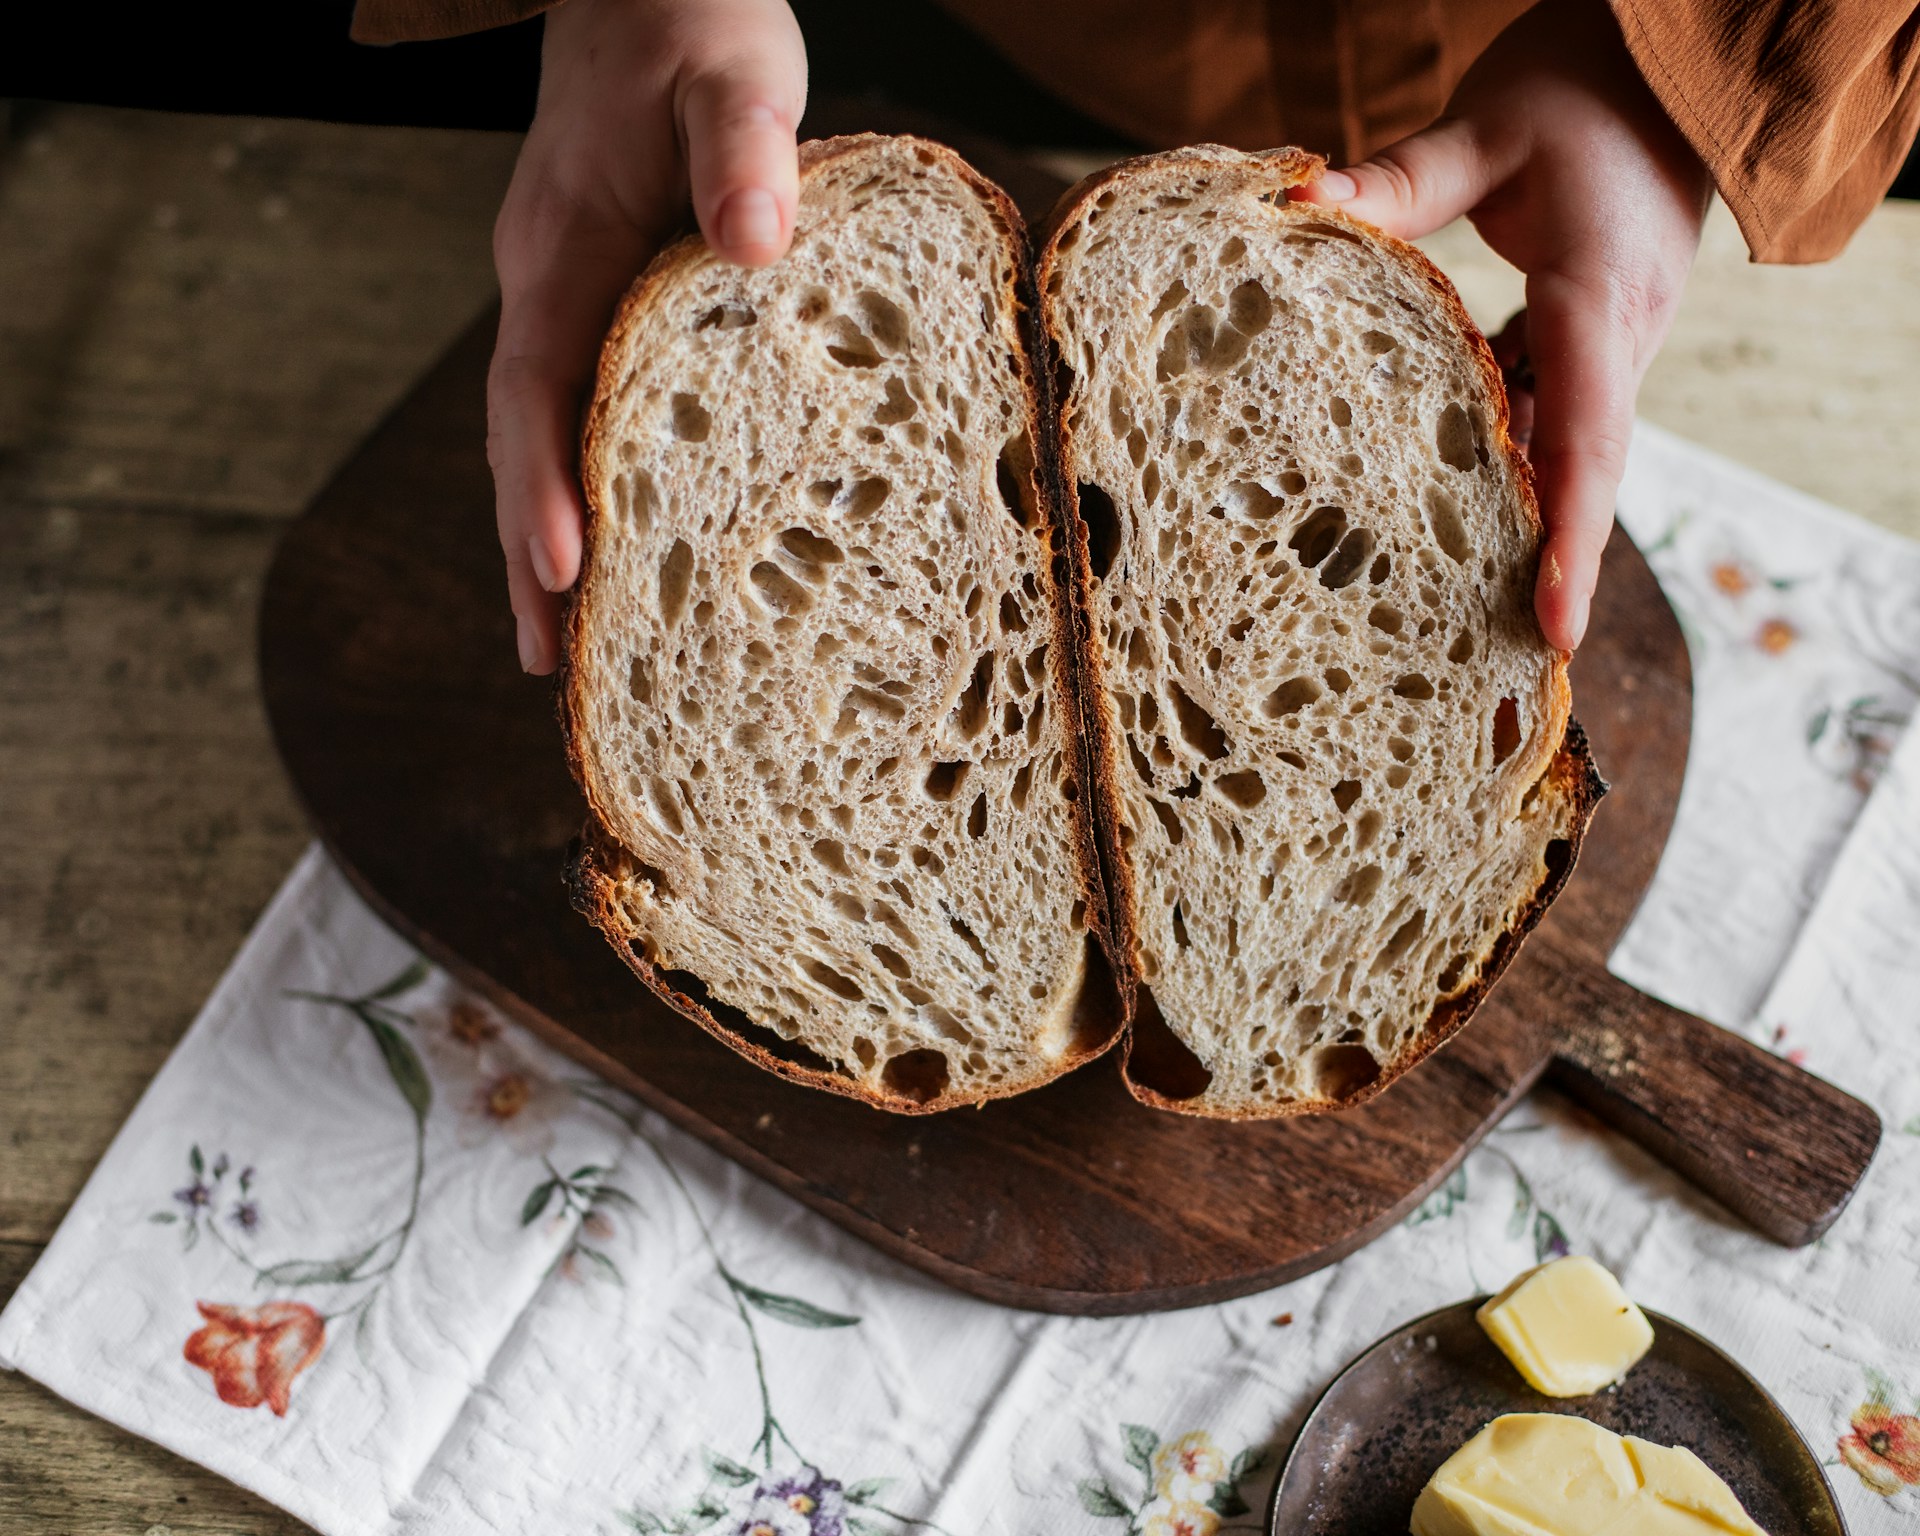
- Score the top with a sharp knife or blade
- Carefully place it into the hot Dutch oven
Bake:
- 20 minutes covered
- 20–25 minutes uncovered until golden brown
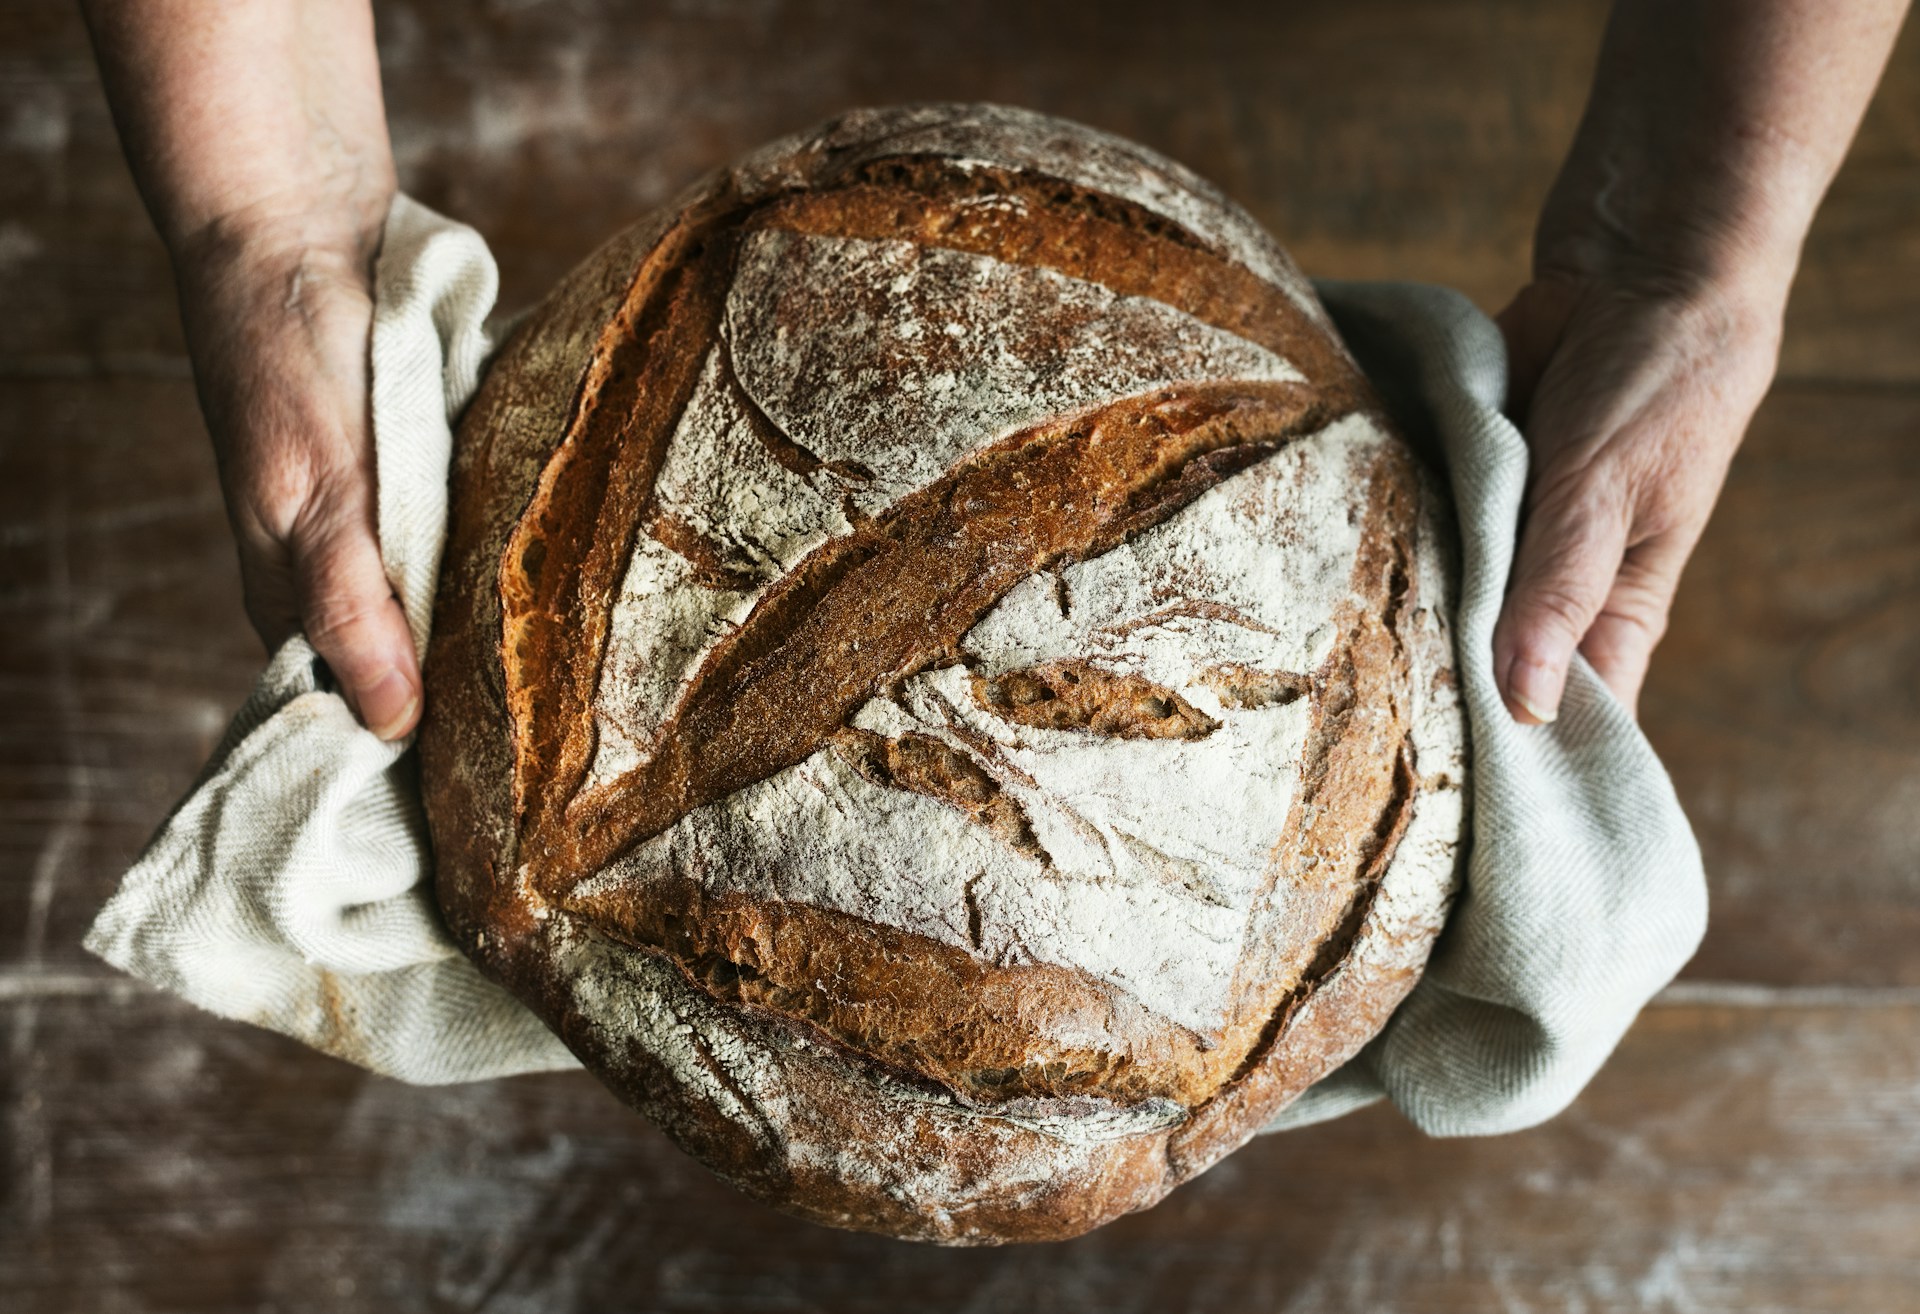
Let it cool completely before slicing (this is the hardest part, but it matters!).
Tips for Success
- Your starter should pass the “float test” (a small piece floats in water)
- Don’t rush fermentation—this is where flavor develops
- Sticky dough is normal—avoid adding too much extra flour
- Every loaf gets better with practice
Why You’ll Love This Recipe
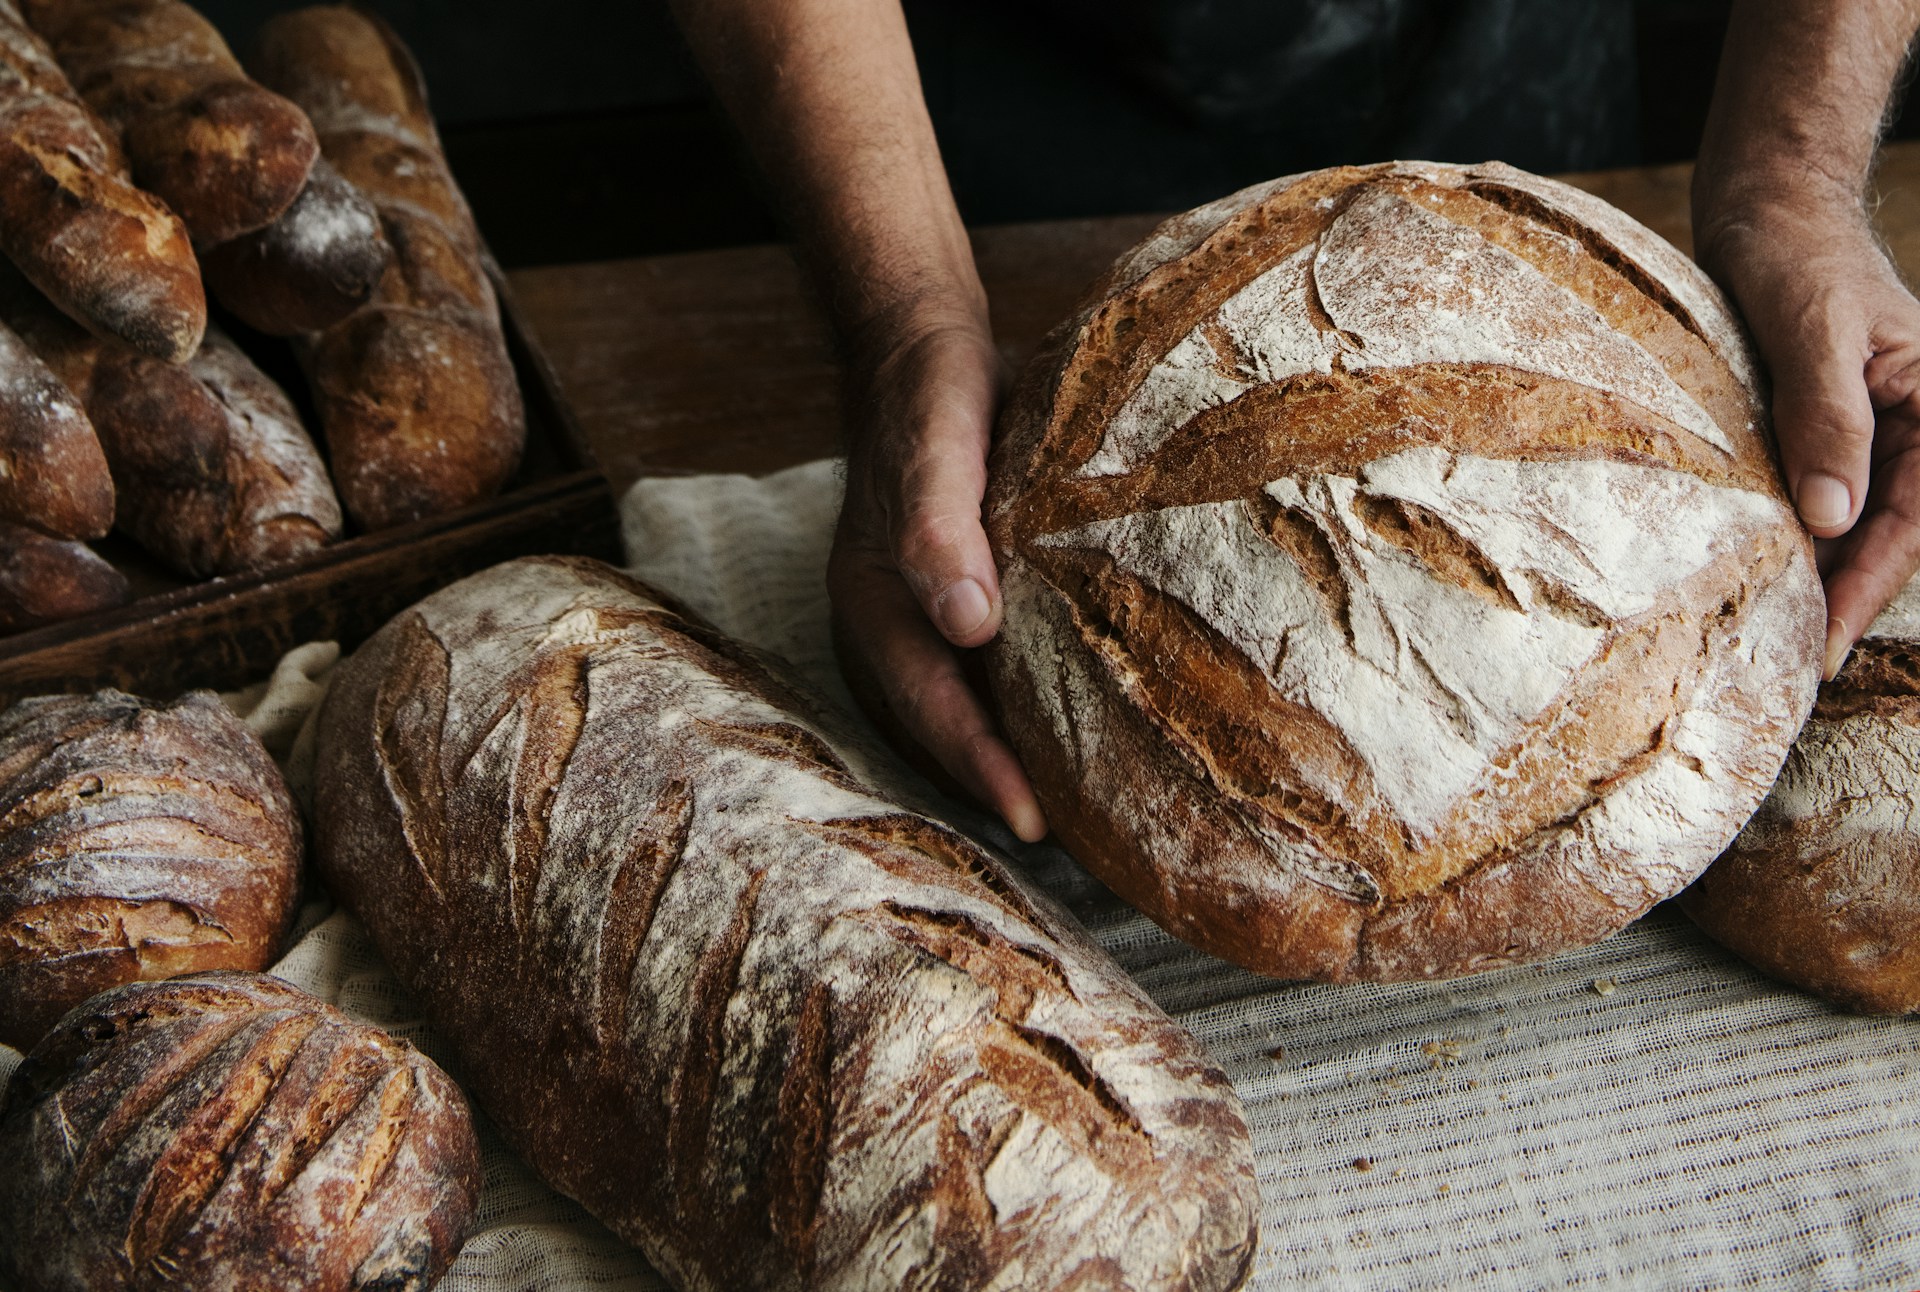
This sourdough recipe is simple, flexible, and perfect for beginners. It doesn’t require complicated techniques—just patience and consistency.
Sourdough baking is less about perfection and more about learning the rhythm. Once you get the feel for it, it becomes second nature.
Final Encouragement
Your first loaf doesn’t have to be perfect to be worth it.
There’s something deeply satisfying about creating bread from just a few simple ingredients. Take your time, enjoy the process, and don’t be afraid to try again.
You’ve got this 🤍